Tutorials
In this course, you will learn about how to set up your GitHub account & repositories, download and upload your files as well as enjoy some cool Git commands on your terminal. The courses will consists of 5 tutorial parts as you have seen on the Home Page, from basic to advanced techniques and after that you can further develop Git by yourself or lookup for the Git documentation. Let's jump into the features now!

1. Download Git
You can download Git for MacOS here.
To download Homebrew for your terminal, click here or follow these steps:
- Open your Mac Terminal and copy this line:
/bin/bash -c "$(curl -fsSL https://raw.githubusercontent.com/Homebrew/install/HEAD/install.sh)" . - After you have downloaded, type git version on the terminal
if it appears the version then it’s mean you have successfully download git.
Your terminal should look like this:

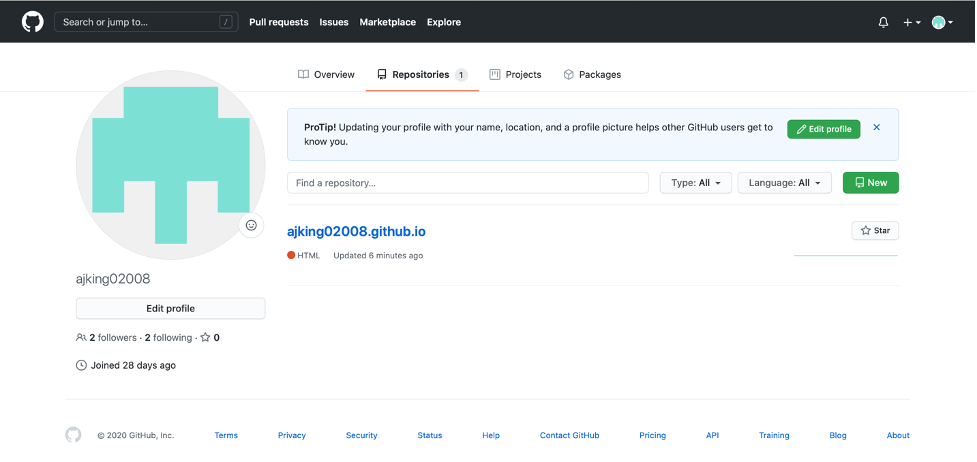
2. GitHub Account
Sign Up
You can create your own GitHub account here.
Setting up your repository
Click on the avatar of your top right corner --> choose My Profile --> choose New.
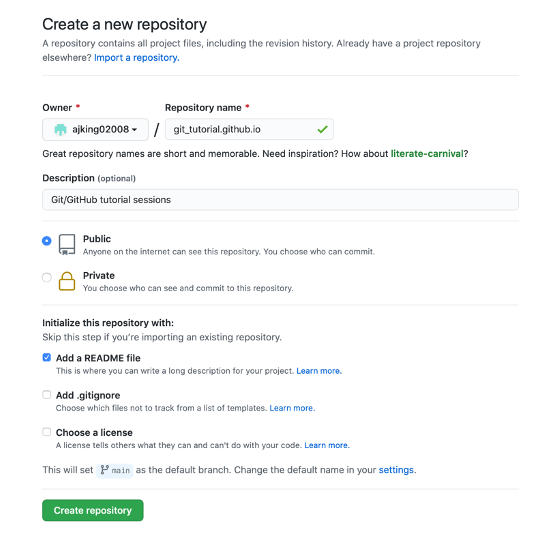
Enter your repository name (you should include .github.io at the end).
Choose Public --> Choose Add a README file --> Choose Create repository.
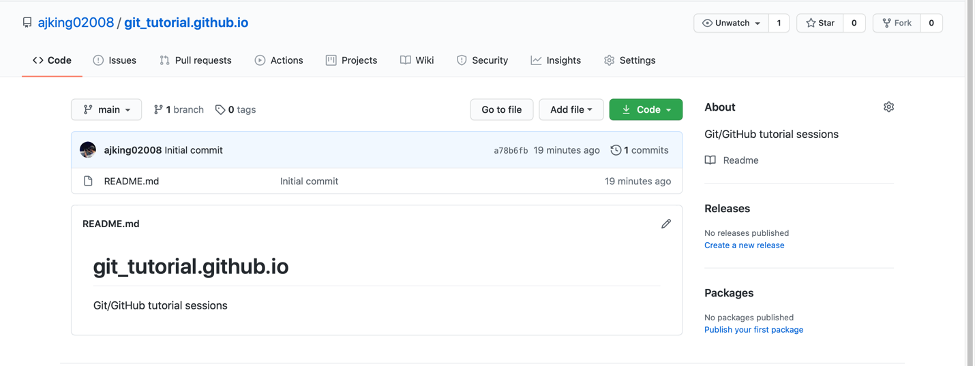
You should have your own repository like this:
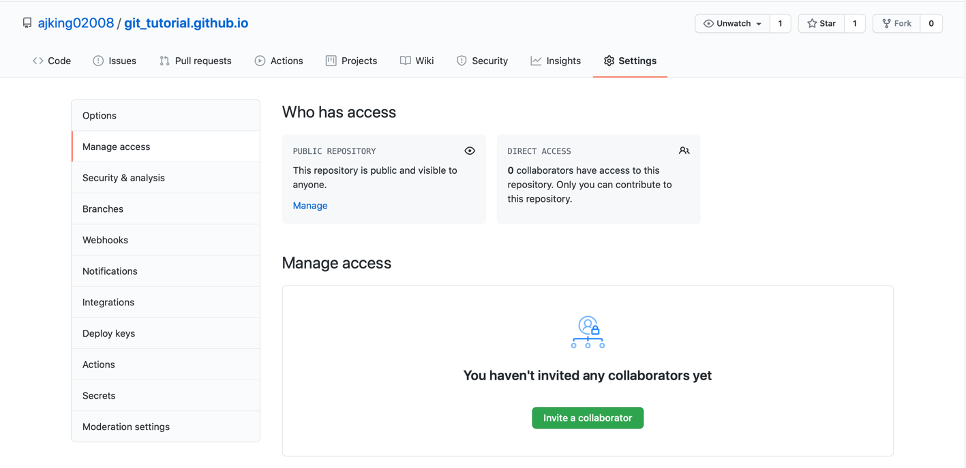
To manage who can view or edit your repository, click on Setting --> Choose Manage Access --> Invite a collaborator.
It should look like this:
3. Basic Git Commands
git config
To view your git configeration, tyoe in your terminal git config -l.
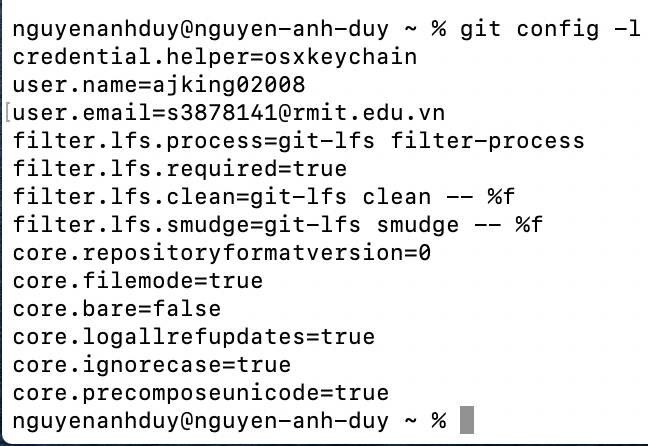
Tip: You can just type git config only to view all the available options:
![git config [options]](git_assets/images/gitconfig.png)
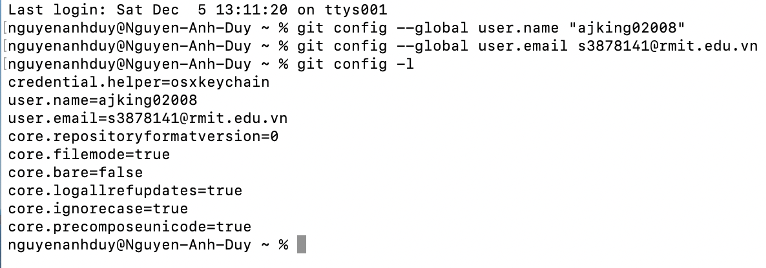
Setting up your username and email address
To initialise your user data to the terminal, follow these steps:
- git config --global user.name “Enter your username here".
Remember to use the quotation mark. - git config --global user.email Enter your email here.
- git config -l to check your confidential data.
Your terminal should look like this:
git clone
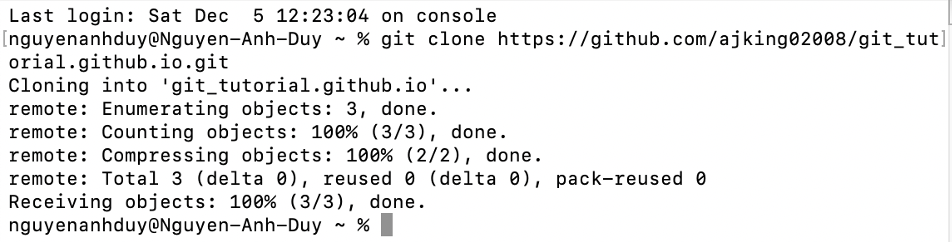
For instance, git clone is used to create a repository folder on your local machine.
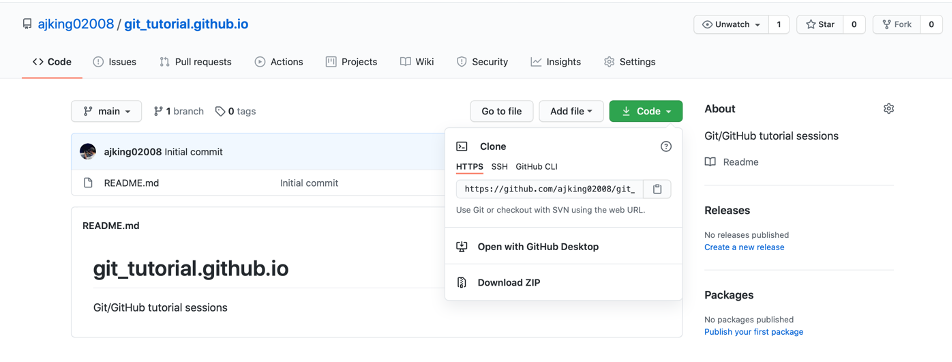
Type git clone URL in your terminal (the URL for the repository on your GitHub can be found in your Profile --> Code).
Your terminal will execute these lines and create the same folder from your GitHub account:
On your Mac machines, open Users, the folder should appear there!
cd
cd is a command used to target the place/folder that you want to point at.
On your terminal, type cd folder.
Hint: type cd in your terminal, then click tab, it should appears all the folders that is inside User, then choose the folder you want to be in.

After success, it should appears like this:

To move back one level, type cd ..

To continue the tutorial, I would advise to use the Visual Studio code or any IDE that has terminal, for example: Xcode for better experiences.
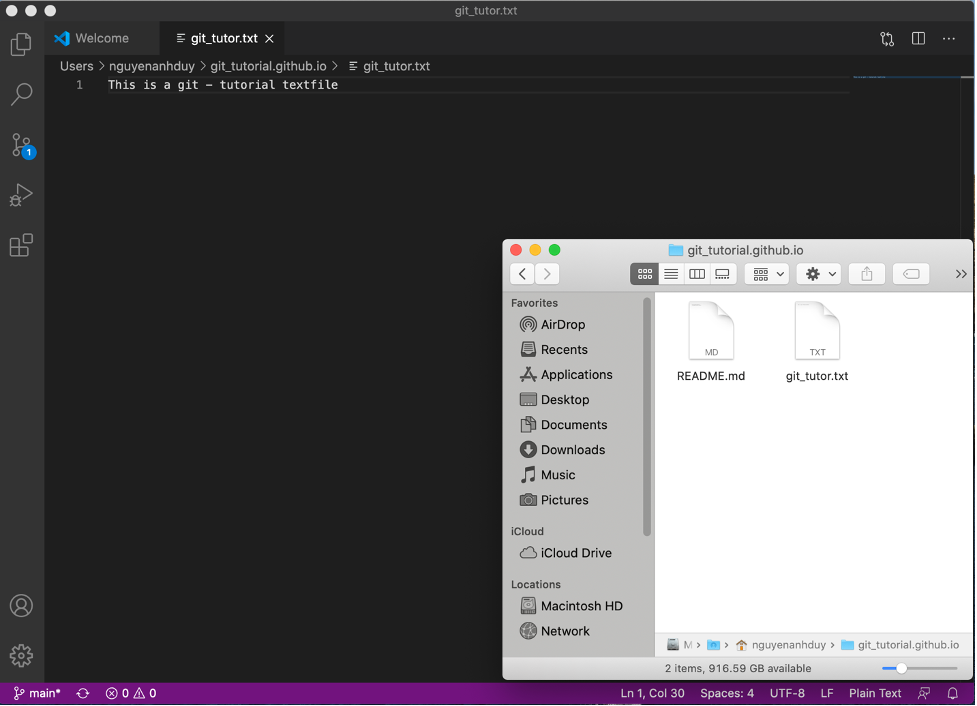
Uploading your local files to GitHub
This is the following chain of commands that you will always use to upload your codes:
- git add Enter your file name
- git commit -m "Enter your message here"
- git push
Now assume that you already have a file in your local repository folder and you want to upload it into GitHub.
To upload your file, firstly, create a new terminal on your visual studio window:
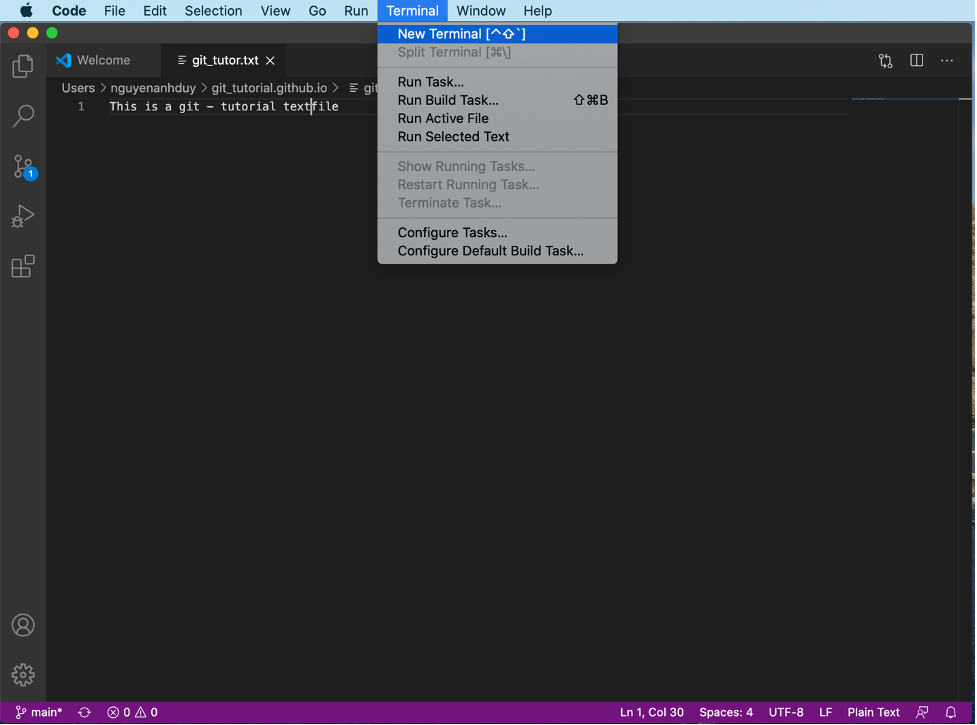
Then cd your git folder to get started.
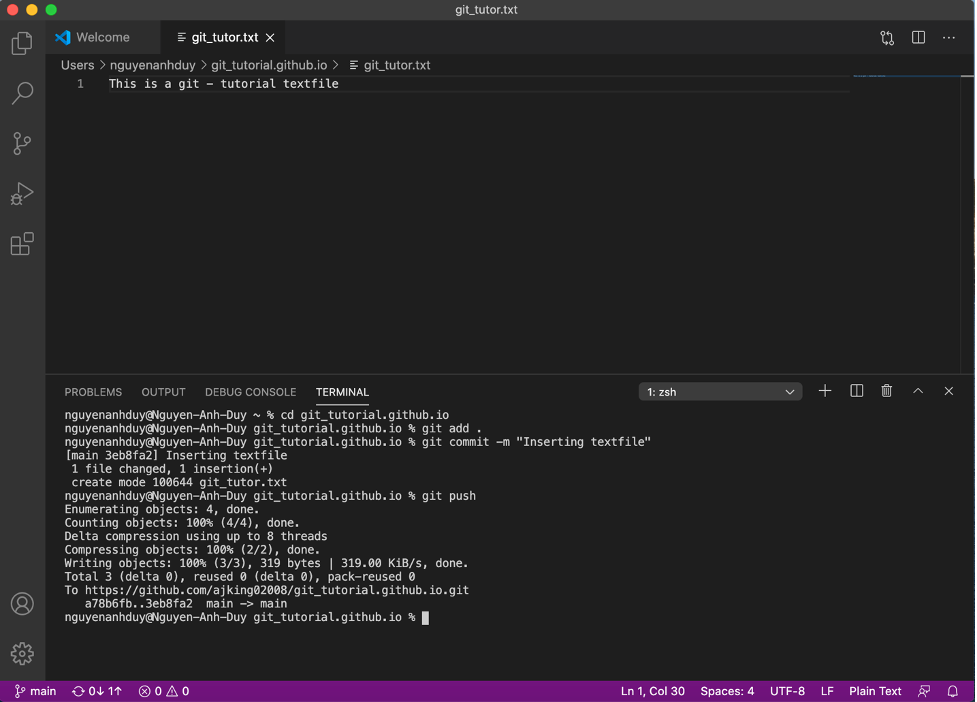
Now execute the above commands (using the example from this course):
Git add git_tutor.txt
Git commit -m “Insert git_tutor.txt”
Git push
Hint: You can use git add . to add all the files in that folder.
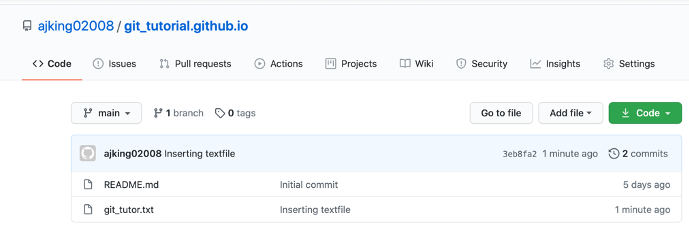
Now go to your Github account, you would notice that your file was added into your repository:
Tip: Remember to save your files before pushing, else the file won’t be up-to-date
4. Resolving Conflicts
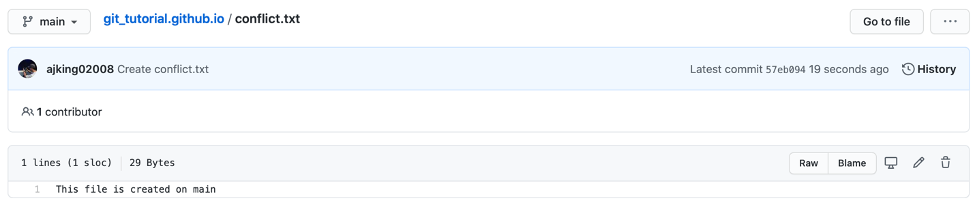
Assume that you have just created a new file on your GitHub repository but it is not on your local machine yet:

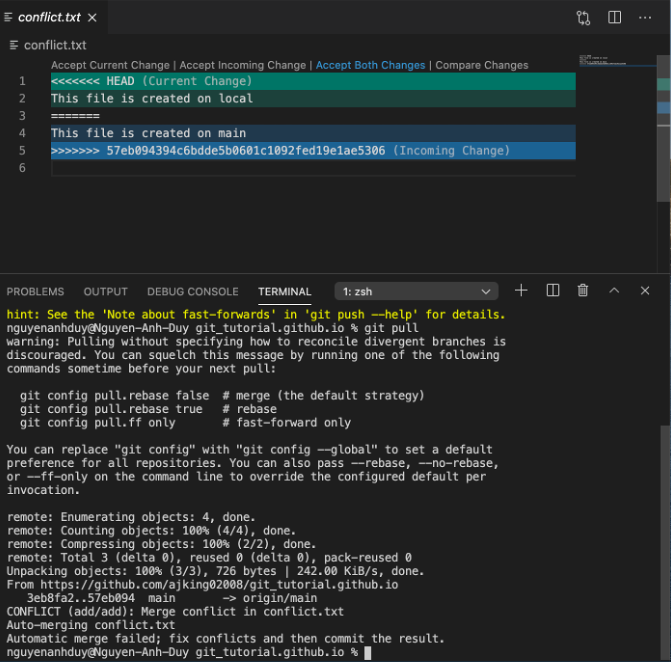
Now you create a file on your local machine with the same name and you can’t upload it into your GitHub:

What is happening here?
Actually, the error means that git detect an overwriting issue, which can make the files corrupted and data might be loss. That is why the file cannot be pushed to GitHub.
To address the problem, you can type git pull on your terminal.
Now if you want to update your work from GitHub, click Accept Incoming Changes.
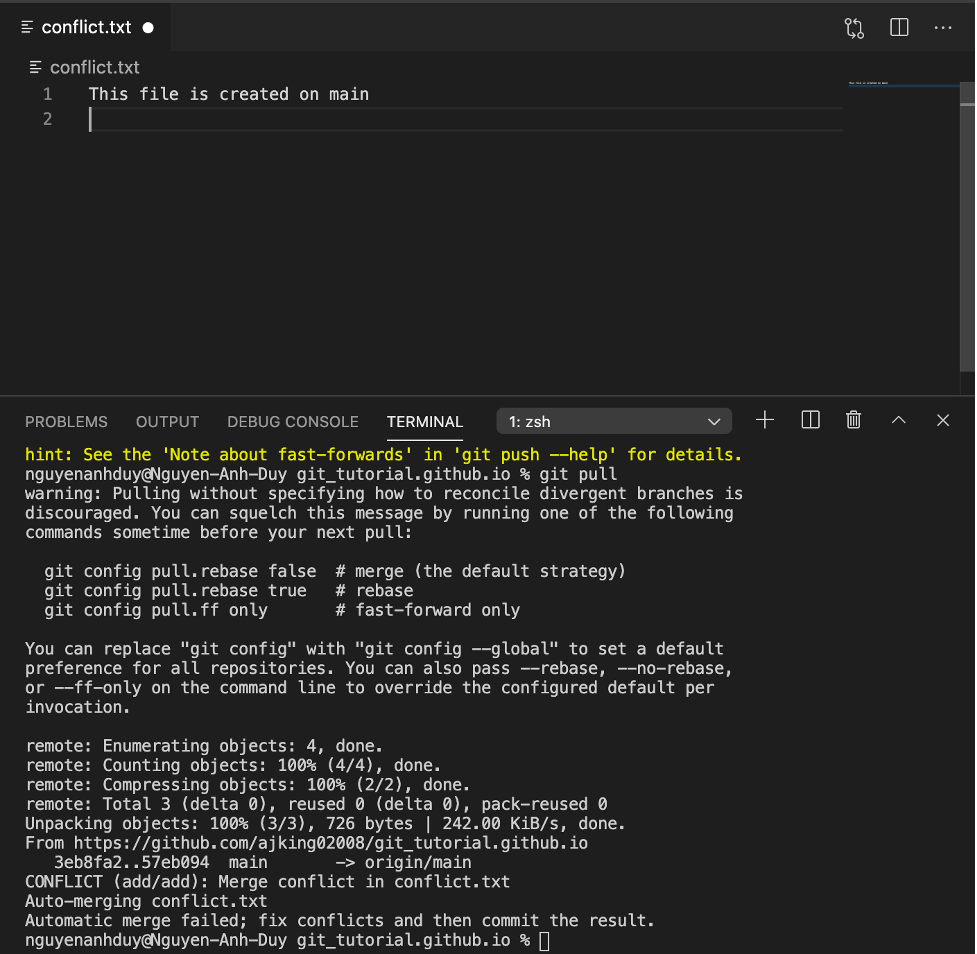
You can see that the data in your local file has already been updated to the new data in your GitHub.
After that, you can continue to edit and upload it again on your GitHub repository:
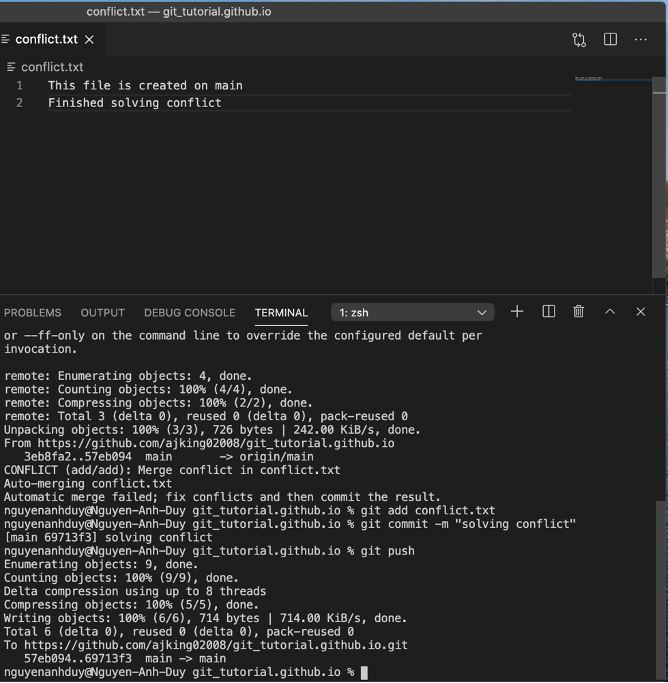
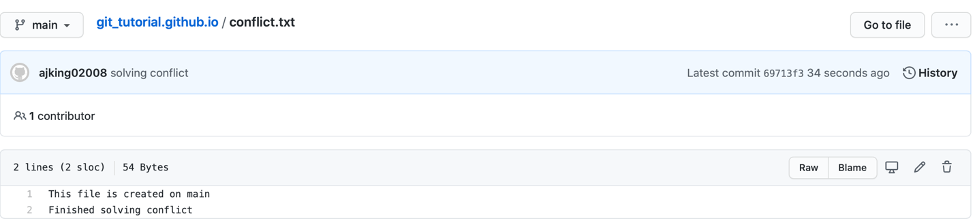
The problem was successfully solved!
5. Advanced Git Commands
git pull
Regarding the aforementioned issue, solving conflicts is only an alternative function of git pull.
The main idea is to continually update your data, when you have a group project to do in the future and each member will definitely push different codes into the GitHub repository.
The pivotal part here is to keep remind yourself to do git pull at the begining whenever you want to edit your project to make sure everything is on the same page!
In conclusion, for the advanced part, the first thing to remember is git pull will always be your initial commandwhen you open the terminal
git branch
You can imagine branches are similar to routes, we have many different ways to come to the same destinations.
In Git, the most common branch is the main that we are currently use, for the other branches, you have to create by yourself.
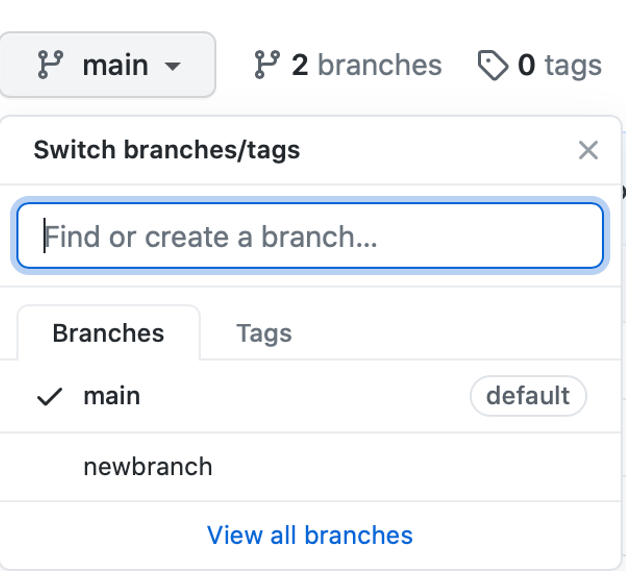
To view how many branches you have, type git branch
The green line indicates which branch you are currently on
To create a new branch, type git branch “Enter your branch name here"
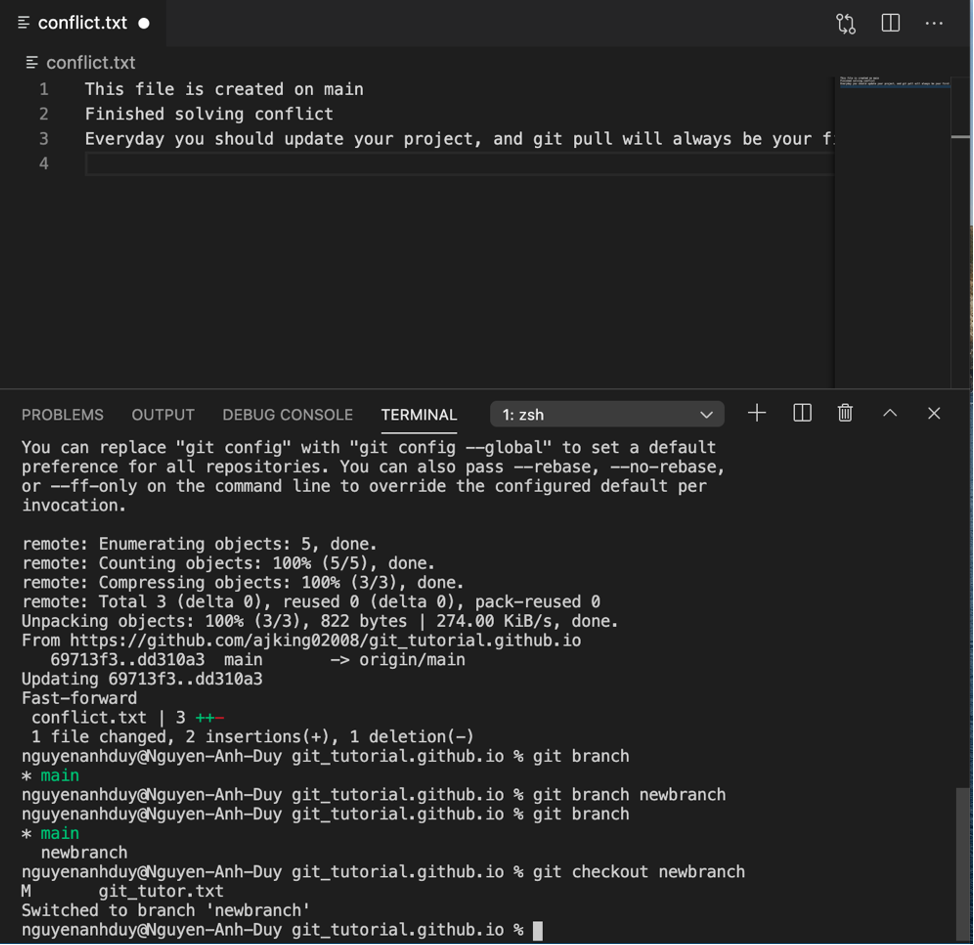
Now let’s create a file on newbranch, and try to upload it
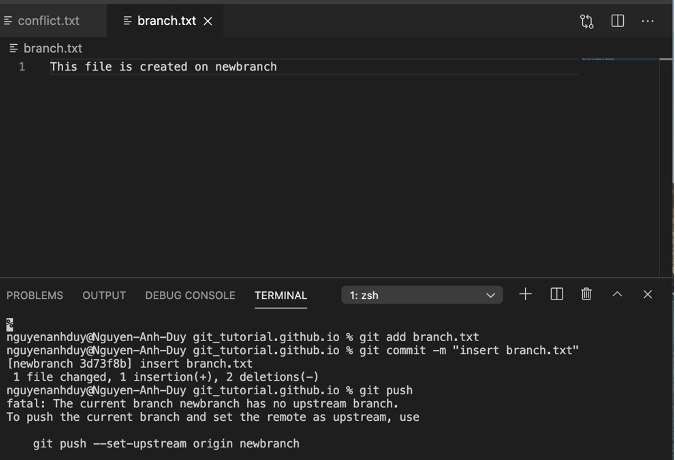
You can see that it doesn’t allow us to push the file, even though every code was executed
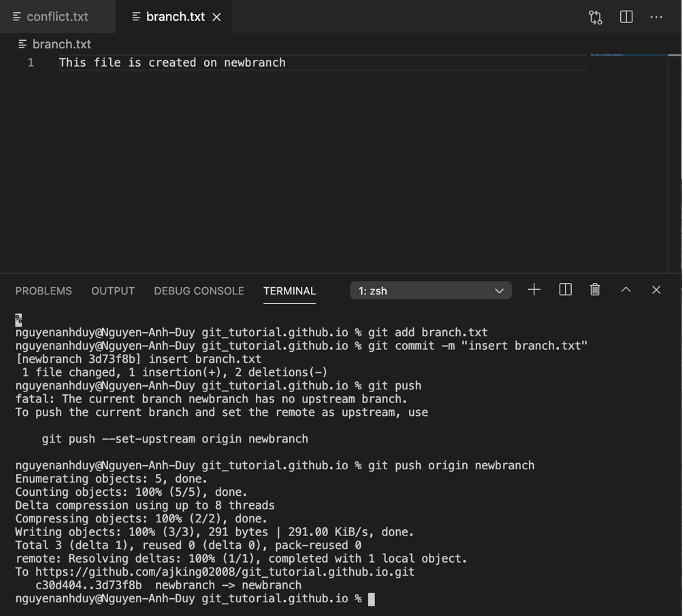
The reason is that the newbranch we previously created was only in our local machine, it was not on GitHub yet
To address the issue, type git push origin newbranch
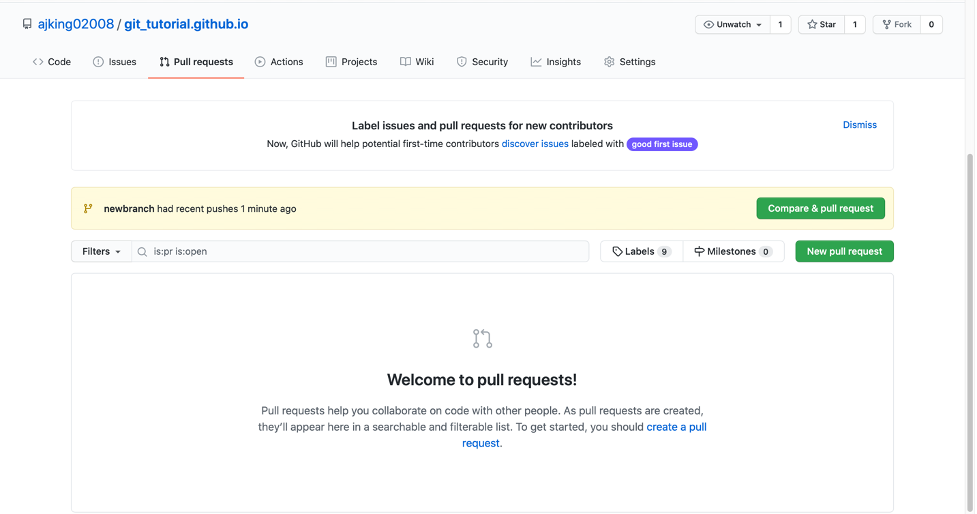
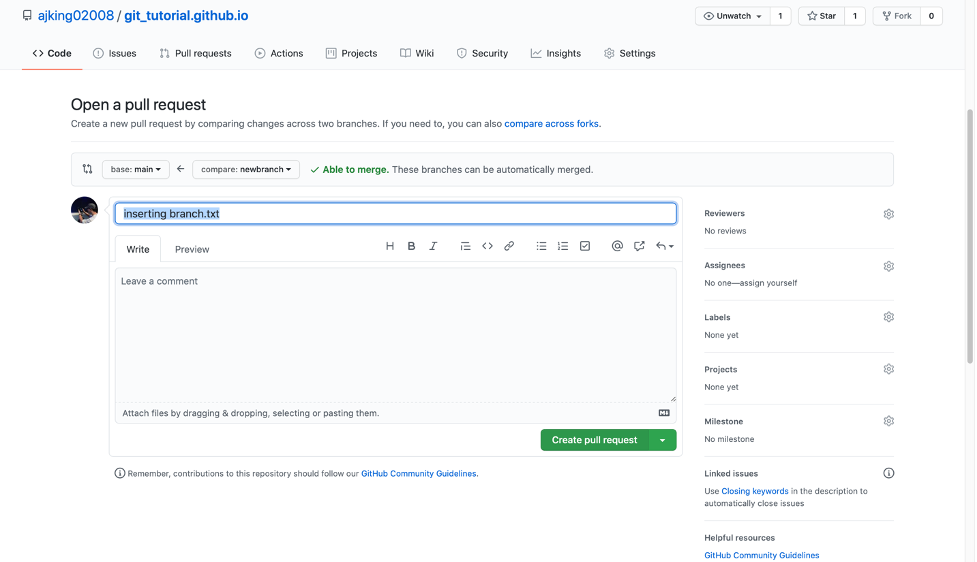
Now go to your GitHub account, click on Pull Request --> Choose Compare & pull request
Choose Create pull request, you can also leave some comments there.
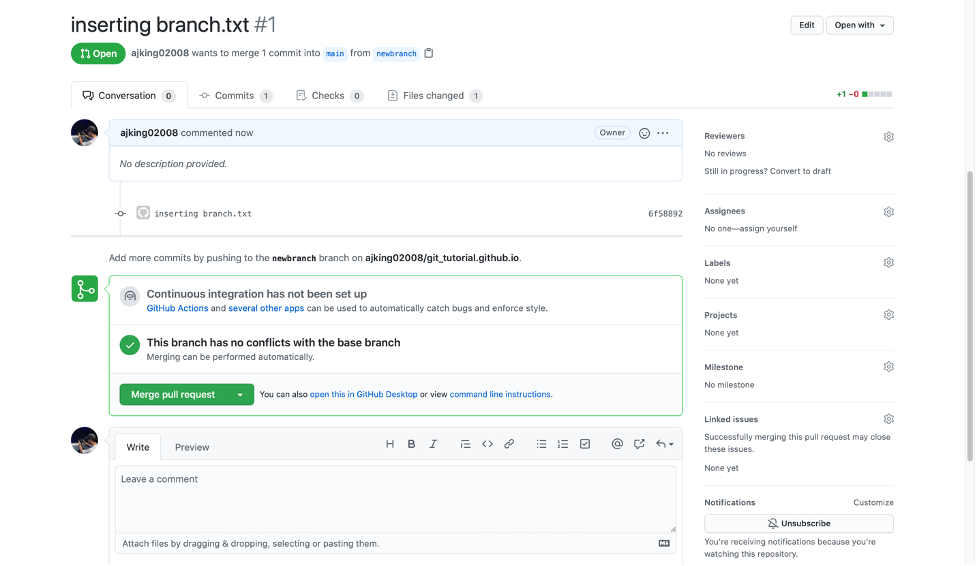
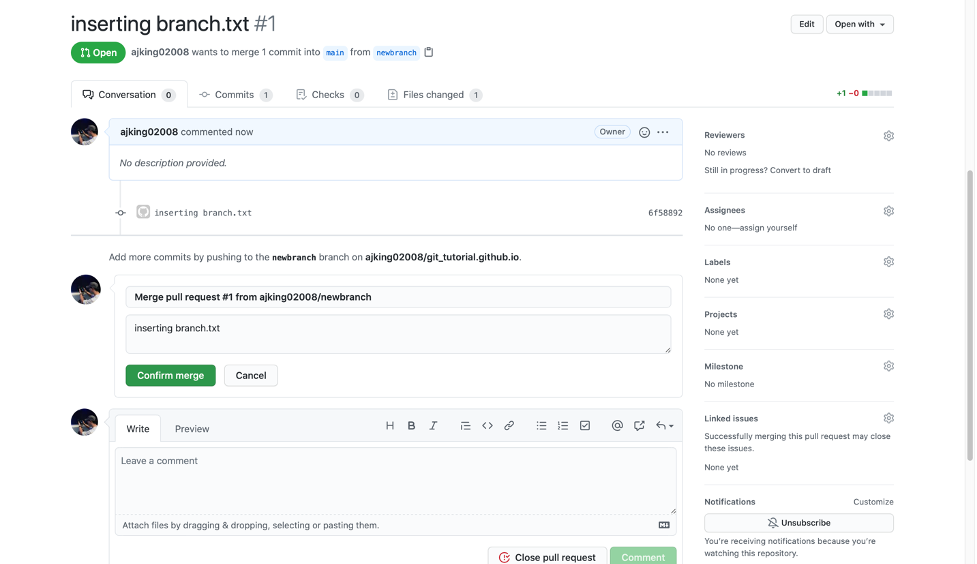
Choose Merge pull request --> Confirm Merge
Now the file is in your GitHub repository as well as your new branch

Now have a look at our file in VScode if we change from newbranch to main
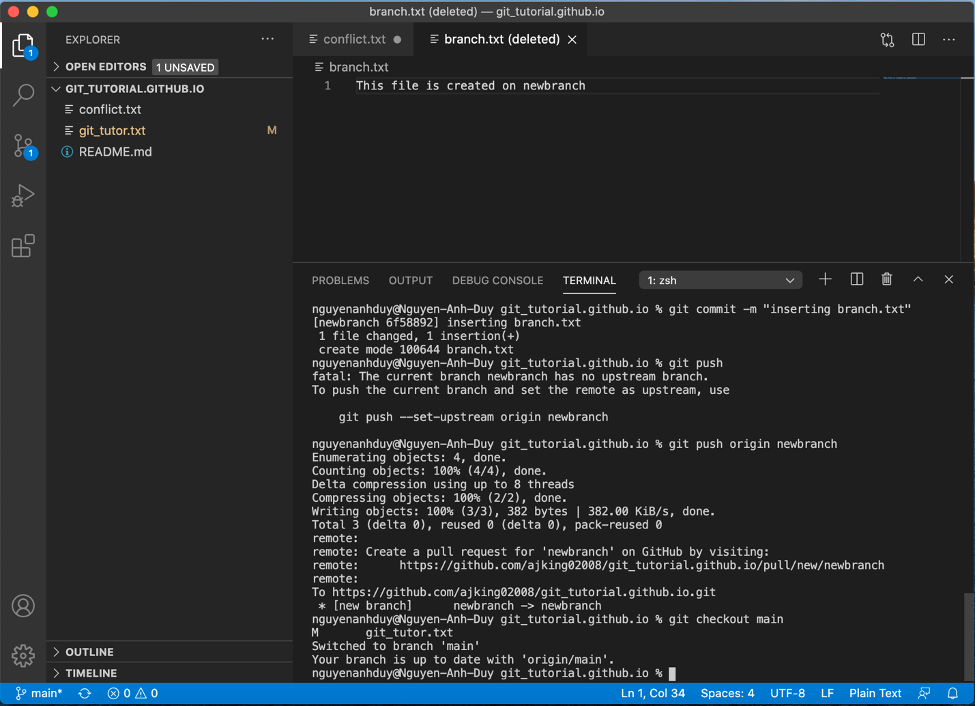
The file was deleted, because it is not in the main branch
Recommendation: save your files before checkout another branch in case of losing data. To track files or history of your project, you can use the git commands below!
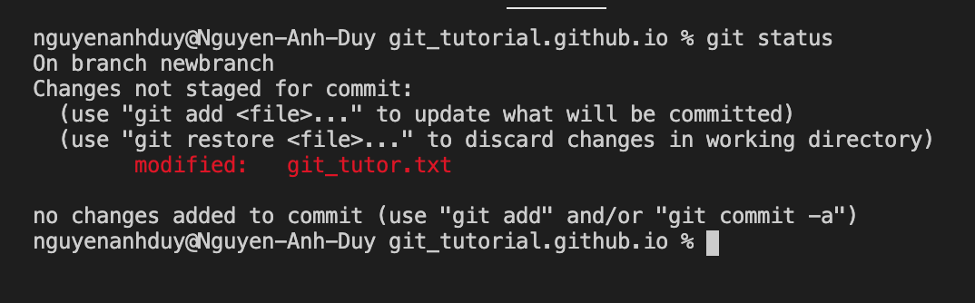
git status
You can use git status to check which stage, branch or functionyou are currently on in case you are lost.
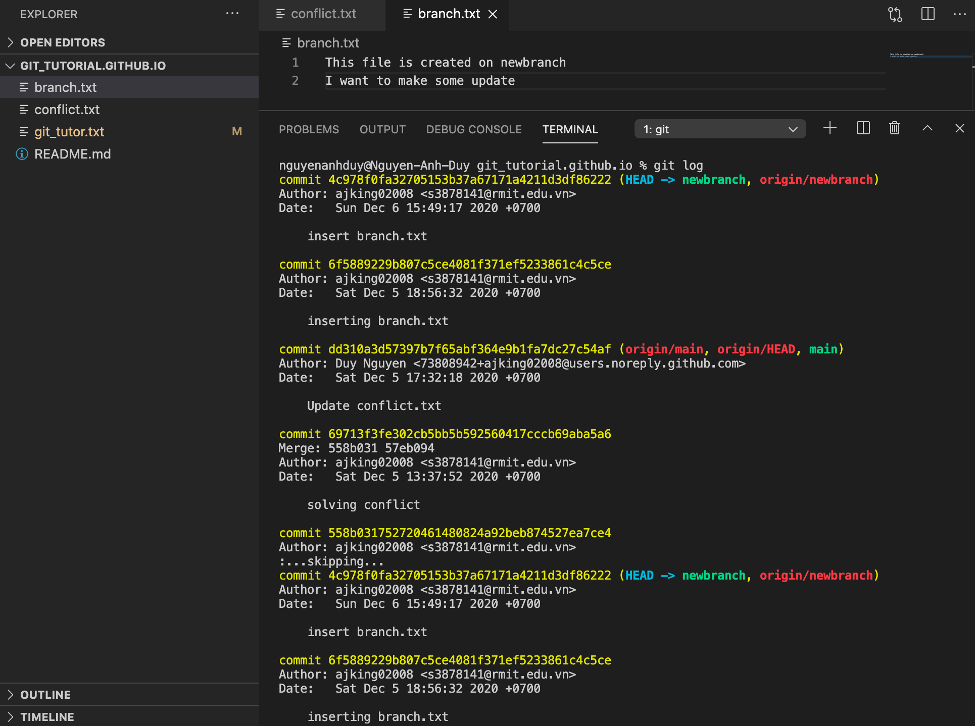
git log
You can use git log to view your project's history.
Further Information
To have an overview about the tutorial course or the Git/GitHub, you can read more in About Page.
Git Documentation
To discover more advanced features that are not listed in this course, you can go to this documentation link below!
Your feedback will be sent to the address which is shown in the map.
Thanks for your support

Git documentation for valuable commands and instructions for downloading the software to the devices!

The IDE used in this course to execute the Mac terminal and very friendly platform to use when executing the codes!

Provide various explanations and assistances to build up the webpages: HTML, CSS & JavaScript commands

The place to host the website and the supporting software that assists in sharing the codes to the public